techhub.social is one of the many independent Mastodon servers you can use to participate in the fediverse.
A hub primarily for passionate technologists, but everyone is welcome

Administered by:

Server stats:

5.3K
active users

#ender3

1 post1 participant0 posts today

For the 3D printing nerds: I'm having a problem with my Ender 3 Pro, and I'm not entirely sure what to tweak to get better performance out of it.

Basically, the part starts out as one contiguous circle, then once it's past the base, there's an outer ring, and then some small protrusions. I usually have trouble printing multiple parts at once, because my build plate is far from flat (planning to swap firmware and get mesh levelling setup), but while this is sort of the same thing (the nozzle has to jump across multiple non-contiguous portions of the print during each layer), it's all happening within a total diameter of <40mm!?

Basically I can complete the entire base, then when it gets into the "sticky outy" bits, after anywhere from a couple layers, to maybe half a cm or so, my extruder starts clicking, and I run over to find it just floating above the print, obviously clogged I guess.

The weird thing is that I managed to do a couple test prints of this just fine yesterday. Now I just keep failing!

Any ideas!?

For reference, I have an Ender 3 Pro with the off brand red aluminum dual gear extruder. I'm using Elegoo PLA+ (which is what I've always used) at 210 degrees (what I've always set it at).

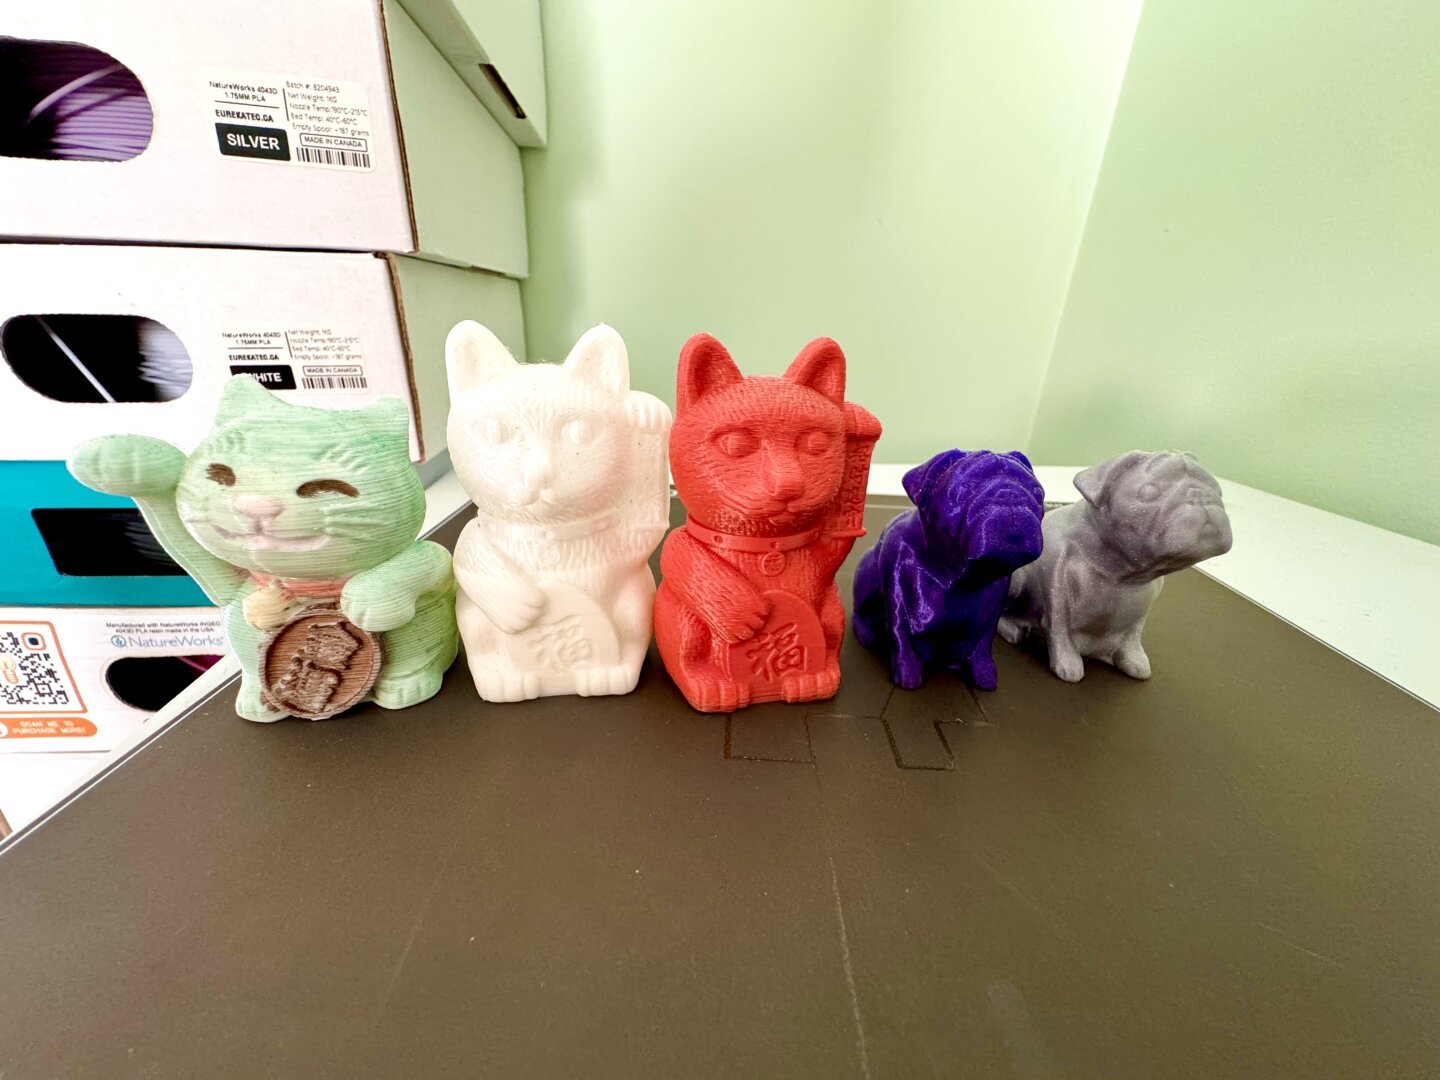
First photo is a couple successful test prints from yesterday (earlier iterations of this model; the one with the radiused walls had the ring as well but that snapped off after the fact... accidentally made it too thin). Second photo is my last 3 failed attempts, which appear to be failing earlier each time lol

Finally finished the replacement of the old 8-bit board with 32-bit v 4.2.7 silent board on my Ender-3. I don't know how does the motherboard affect the silence of the 3D printer, but the difference is staggering. Before it was like a column of tanks riding through town, no all I can hear is the fan ... 😀 👍 Looking soon to follow with the installation of CR-touch. I really need to step up my 3D printing game, have fallen behind a little bit in recent years ...
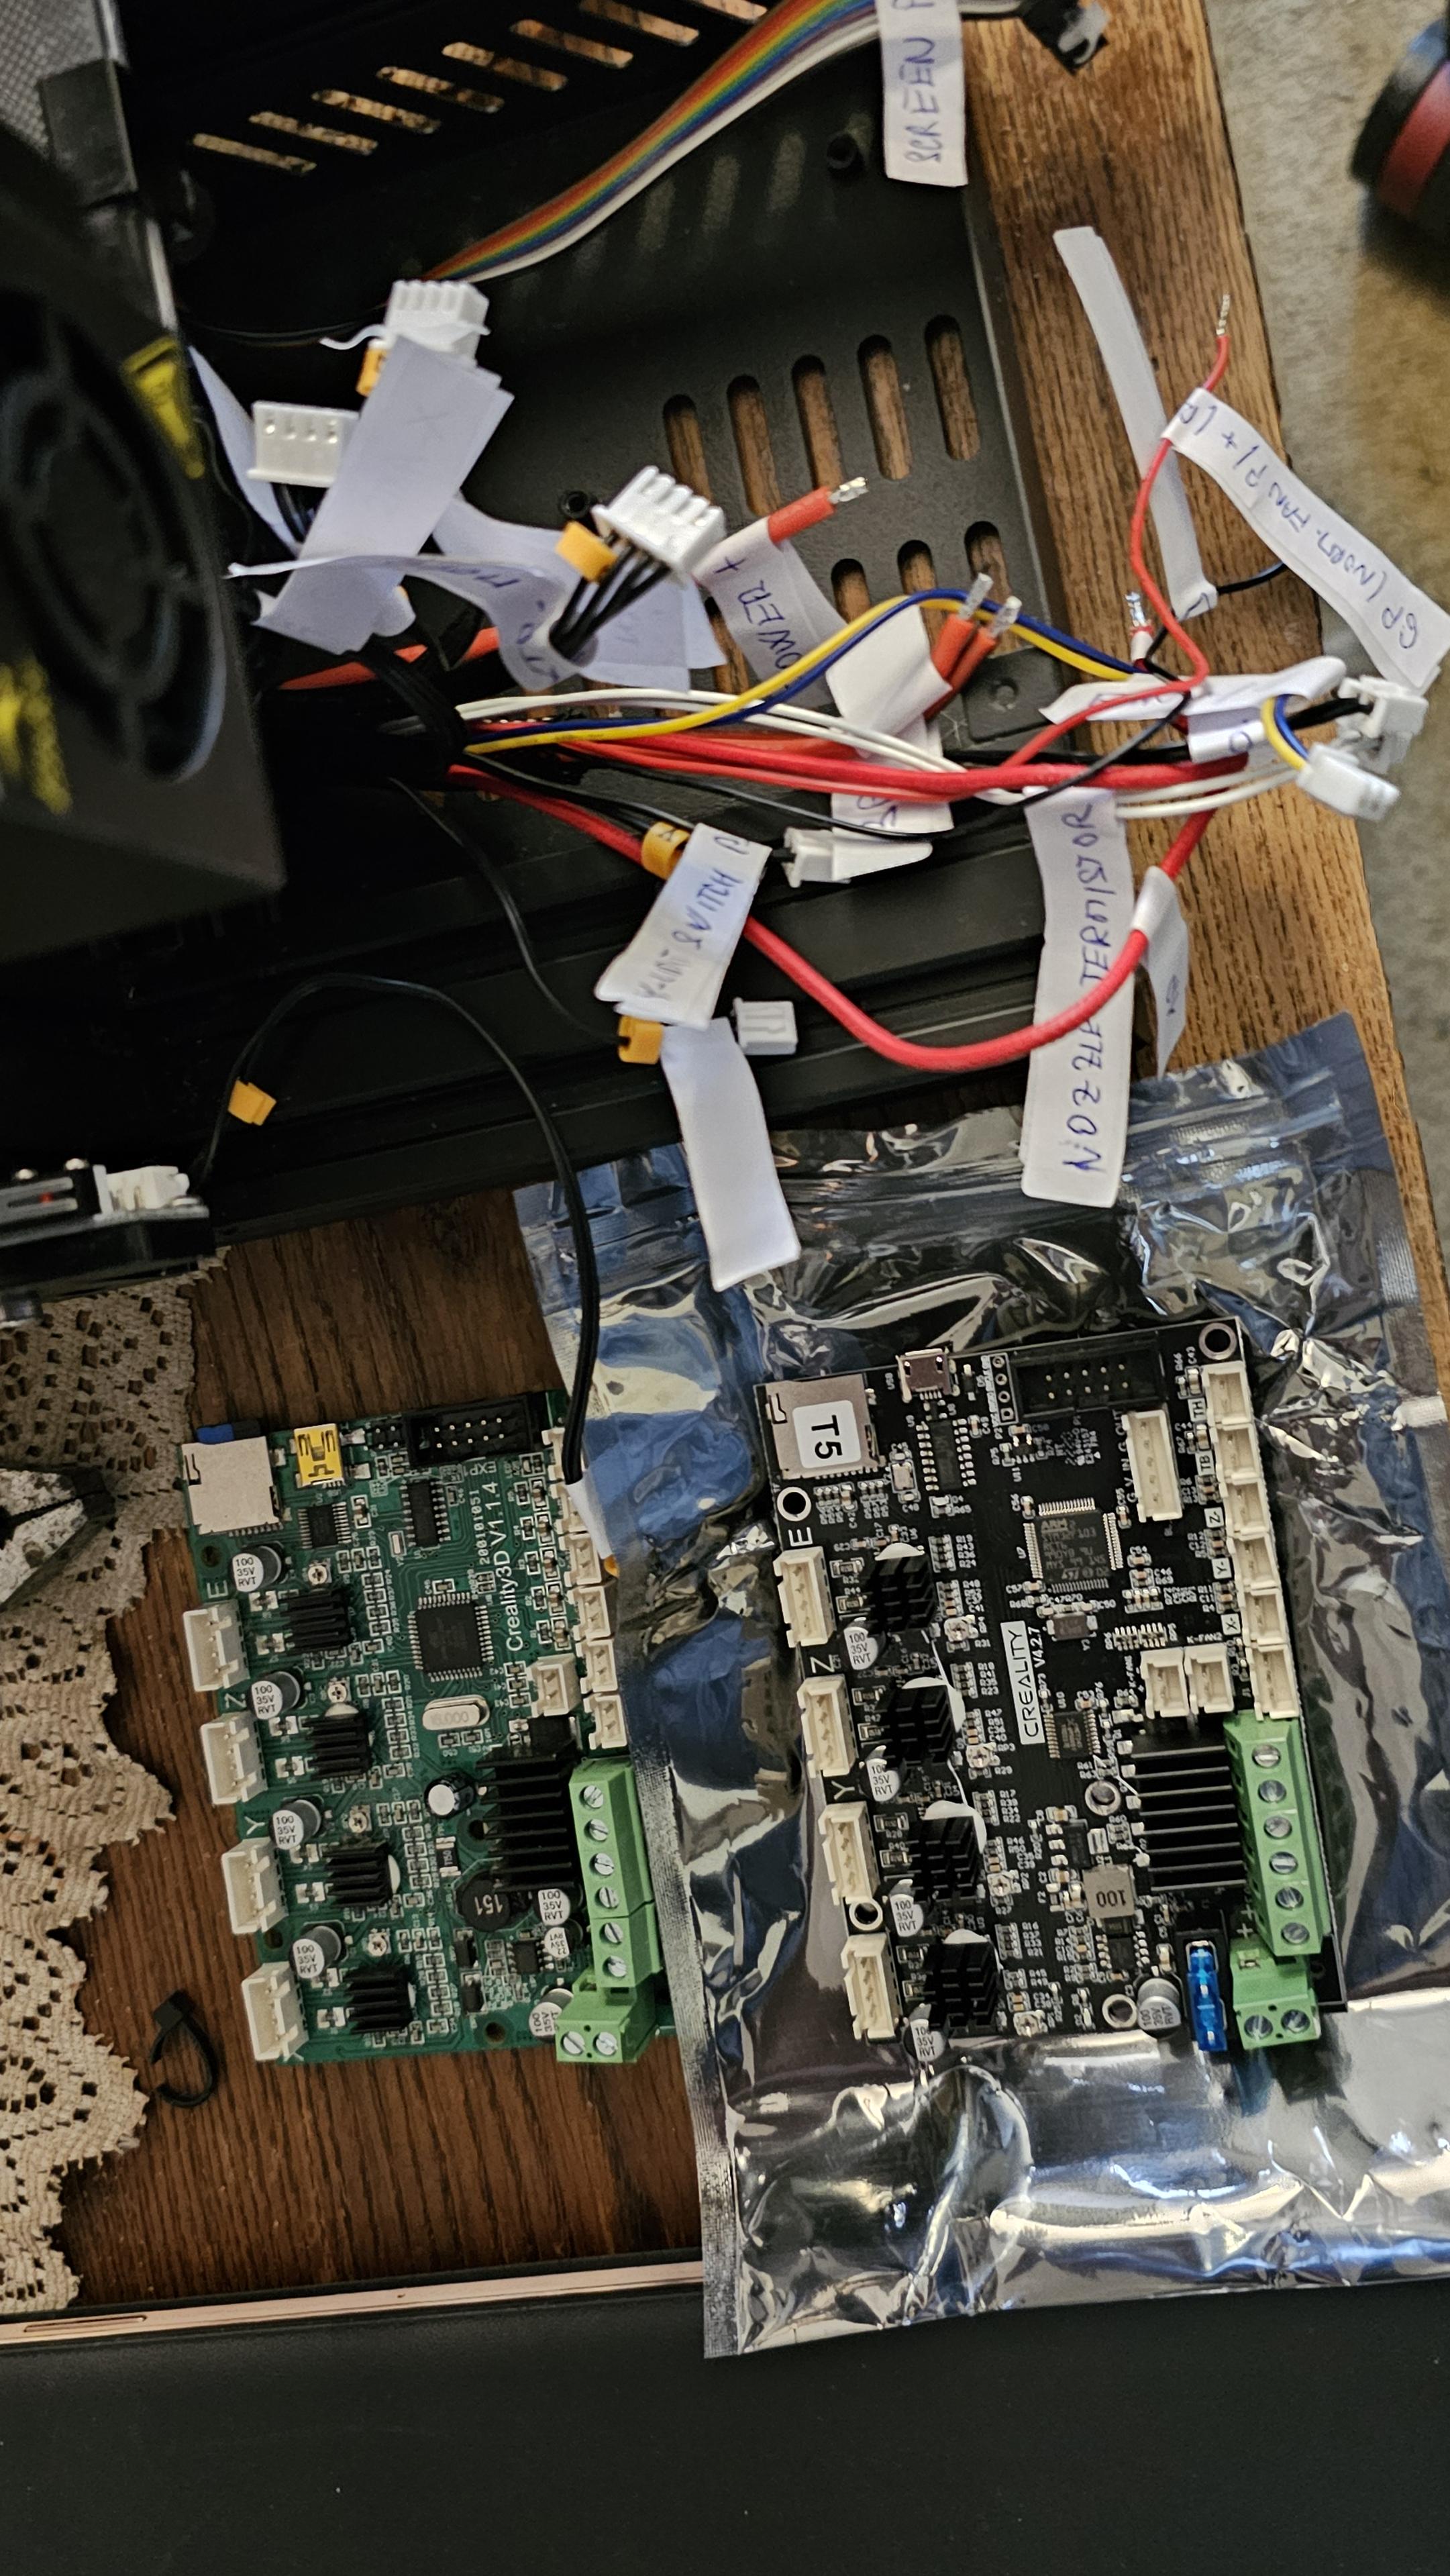
Good news! Today I put on the time and my trusty old #Ender3 is still working fine. Not the best prints but it does the trick for what I need.

Bad news! My old old laptop is dying. It's a bit sad, since will be the first time I will need to throw away a laptop just by its age (it's not broken) someday in the near future.

I accidentally sliced a 3D printer file with the wrong printer profile.

it should have been obvious an 8 hour item was going to take 2 hours, but I sent it anyway and went.on my day.

I've never seen the hot end move so fast, the whole printer was moving around as the bed was thrown around as great speeds

I didn't get any worthwhile footage as I was too busy cancelling it.

Bought a 32-bit motherboard upgrade for my #Creality #Ender3 following a link for further board installation instructions ...

The problem with Creality always has been a weak and messy customer support. Ever since I first unpacked my Ender3 which was a solid 3d printer for the money at the time, the support sucked - missing instructions, wrong numbers in the manual, lack of support on the website, etc.

That's why my next 3d printer will most likely bear a different brand name.

My ender-3 "Randy" has been undergoing minor surgery - new bowden tube fittings, upgraded X and Y belt tensioners and a Z axis anti-backlash. I have upgraded leveling springs also but I might design or find a better Z-stop adjuster first because it's very tricky to adjust. Almost ready for a test print, after a little general fettling #3dp #ender3 #hardware #hacktheplanet

Spent the better part of the weekend fine tuning the profile on my .

Now I'm actually getting somewhere!

It may be hard to know what levers to pull, but a systematic and patient approach eventually did the trick. Suddenly stringing went down to a minimum, corner blobs and other imperfections completely disappeared and bridging worked like a charm.

Strategy: Change only one setting at a time, look at the result, adjust and retry. You don't have to finish off an entire for each iteration, most of the time you'll spot the effect of your tweak during the first few layers.

I have to admit that I'm pretty satisfied with today's result - even though it's still room for improvement.

Earlier this week I was regretting not pulling the trigger on a #bambulab A1. Today, not so much.

I'm upgrading from an original model Ender 3. It was frankly a bit of a pain in the ass and I hadn't used it and almost a year. However, not long ago I installed a CR Touch auto bed levelling kit and oh man, is it ever better to use. I haven't levelled my bed in about 8 prints and every print has looked just great.

My natural inclination is the Ender 3 v3 KE. I don't see how it could not be a huge upgrade from what I'm used to.

Then I remember there are, in fact, other companies besides Creality and Bambu that make 3D printers. Is there another model you'd recommend?